Aquatic Glassel Aquatic Glassel installation is simple and easy for a handy individual to install this product in a vented fireplace or an outdoor Fire Pit. We encourage you to install the product yourself and save the cost of installation. Aquatic Glassel can be installed in nearly all natural gas fireplaces and fire pits with ease. Most fireplaces are plumbed for natural gas and range from the brick and mortar firebox in your typical single-family residence or the typical wall insert unit found in many condos. The minimum BTU requirement for our products is 40,000 BTU. Switch controlled and automatic fireplaces with thermal sensors require special attention to properly operate. For Propane installation see Advanced Install. Instructions for Fire Pit Installations click here. Fire and Gas is dangerous if you have any concern or question always contact a professional.
Installation Instructions 1. Clean your fireplace, a shop vacuum is a good way to get the last of the debris in your fireplace after scooping the majority of whatever you had in your fireplace, ashes, fake embers, Etc... If your home is new or your fireplace has never been used you can proceed to step three. 2. Select a color from our Fireplace Paint Color Chart that contrasts with your choice in Glass or compliments your décor. If your fireplace is well used you should think about having a chimney sweep clean your chimney to stop any wood burning soot buildup in the chimney from falling and contaminating your Fireplace Glass. Now if you decide to paint your fireplace, on the inside walls of your fireplace, wire brush any loose material off the sides and back wall then wipe clean with a damp rag until the surface is clean enough for the paint to permanently adhere to. Tape off any part of the fireplace that you do not want paint on and cover your mantle and hearth with masking paper. Now you can paint your fireplace in even light coats, first horizontally and then vertically, making sure to leave no light spots. Paint Specifications 3. Attach your burner to your gas outlet in your firebox. Position the
burner under the vent flu in your fireplace gas jets facing up. Be careful
not to unscrew the pipe out of the wall while removing the old burner
or the cap if it is blocked off. Use two pipe wrenches in opposing directions
to ensure the pipe remains securely screwed into the wall. Tighten all
the fittings on the burner itself, screw one flex line adapter to the
wall inlet and then the flex line adapter to the burner, attach the flex
line to the flex line adapter on the burner and finally screw the flex
line on the complete burner to the adapter on the wall inlet. All fittings
on the flex line should be tight but do not strip the threads or damage
the flex line. 4. If you are using the 3” method, pour a one-inch layer of glass and adjust your burner. If you are using our cost saving 2” method now you can pour your lava rock. Leave the front area bare while building the lava rock into a flat topped hump, try not to slope up the back wall because the fire will travel to the highest point and possibly scorch the back wall. Pull your burner to the top of the lava rock with the holes facing upward and test light the flame pattern to ensure it is centered in your firebox. Top off with a thin layer of sand to fill the voids in the lava rock and lightly dust off the top of the burner exposing the holes out of the sand. Be sure to keep the front area clear of lava and sand because you do not want the filler to show through the glass 5. Now you can pour your new glass into your fireplace and arrange it however you like. Some people buy one solid base color and leave it at that and others top theirs off with designs and sprinkles of their favorite topping colors. It’s as easy as that, now you have an elegant showpiece that you can enjoy for a lifetime.
Burners
3” Method
2” Method
Lava Rock |
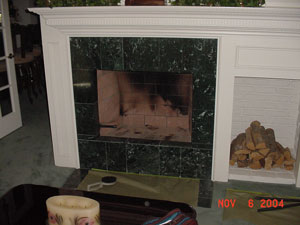
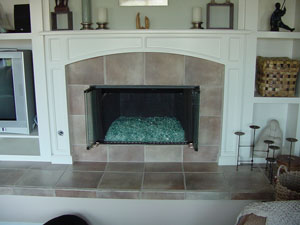
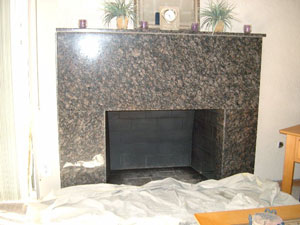
This first picture is a fireplace which is ready for an install,
this is how easy it really is!
This installation is our 2" method which saves you 1/3 the cost of the glass!

After the fireplace has been cleaned it is now ready for paint.
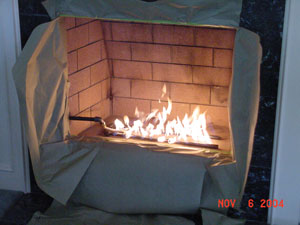
We have installed the burner and lava rock base
Now pull your burner to the top of the lava and light it to test your flame
pattern
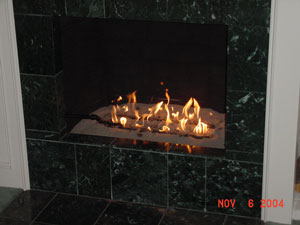
Cover the burner and lava rock with sand and dust the sand off the very top of the burner
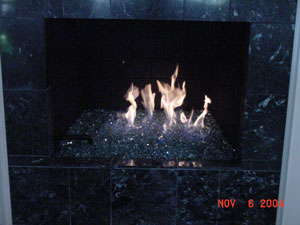
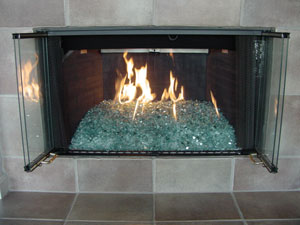
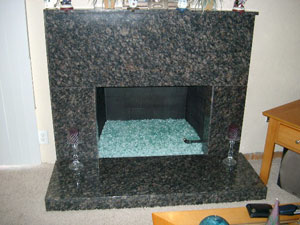
Here is the finished product with Blue Green Reflective and who would know that there is a base of filler underneath?
Here is another installation with Blue Green Reflective
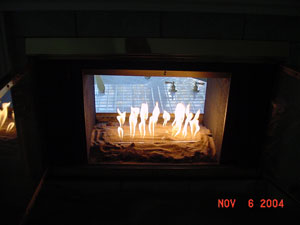
This fireplace has an 18" x 18" burner with a lava rock base.
This method is will save you 1/3 the cost over a 100% glass installation.
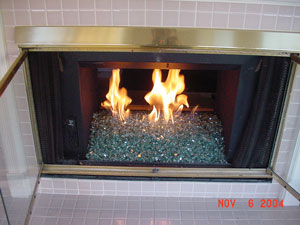
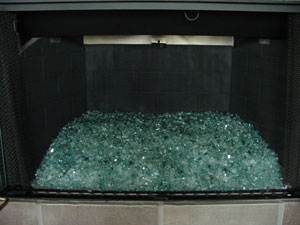
Can you see the crushed lava rock and sand? It is completley covered
by the 2" layer of glass.
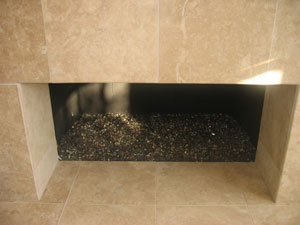
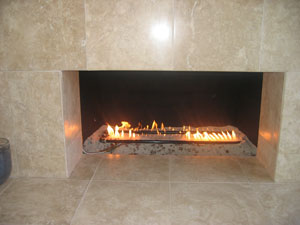
Here is another customer self install using bronze reflective with gold reflective
on top.
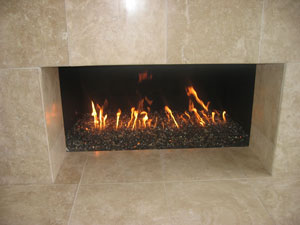
Step One
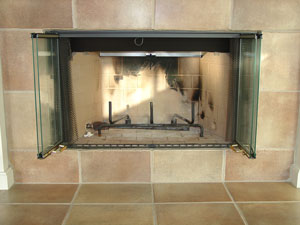
Step two
paint and lava rock
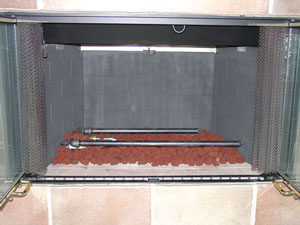
Dont forget the sand (not shown)
step three, glass
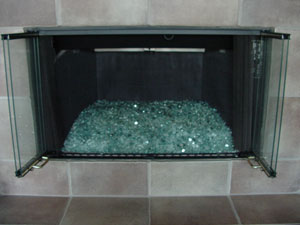
Step four
done!
Clear base with evergreen Reflective on top.
Again step one
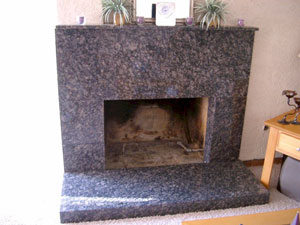
clean and paint
and the final step, pour and light.
Clear base with Blue Green on top.
How much do I Need for My Fireplace
How Much Do I Need for My Fire Pit
Questions? Contact us